They say the devil’s in the details, and that’s certainly true when it comes to visa applications here in the UK. From filling out forms to providing supporting documents, it can feel like you’re navigating a minefield of potential mistakes.
But fear not! With my guidance, you’ll nail your visa application with ease.
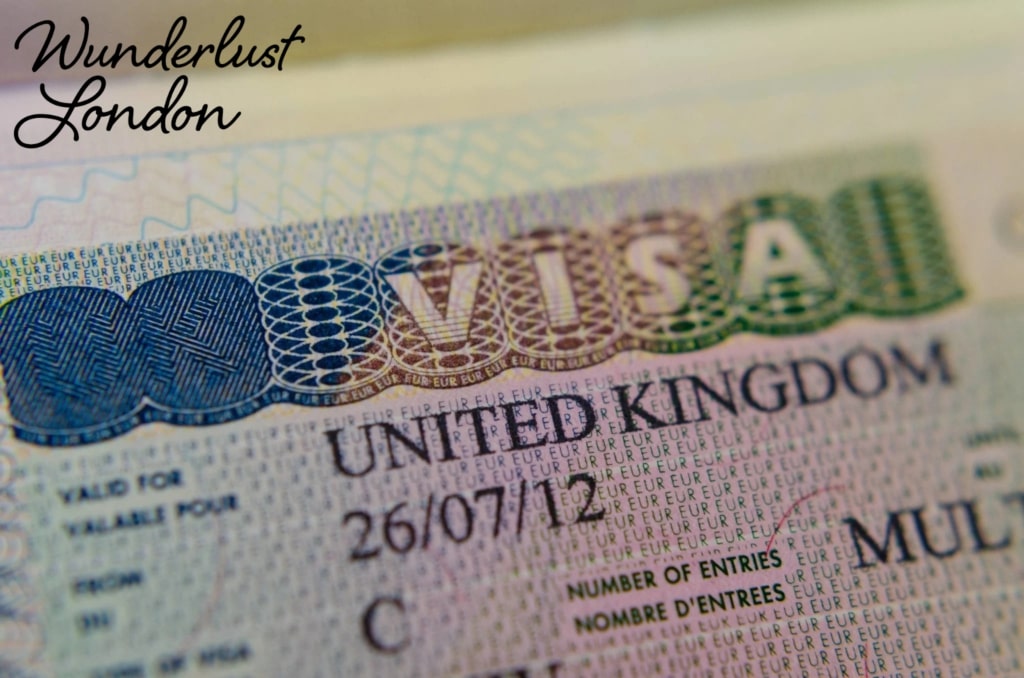
How to apply for a UK work visa?
–Media from thevisaofficeuk
| Difficulty | Moderate ●●●○○ |
| Time needed | 2-3 months |
| Things you need | Certificate of Sponsorship (CoS), passport, Biometric, Funds for application fees, and internet access for online applications and appointments |
To apply for a work visa you have to find the right visa category, obtain a Certificate of Sponsorship (CoS), complete the online application, pay the application fees, schedule a biometrics appointment, attend the visa interview, wait for a decision, travel to the UK and collect your Biometric Residence Permit (BRP).
Step 1: Find the right visa category
–Media from abroad.legal
There are various types of UK work visas, and each one has its specific requirements and limitations.
You can check out the different types of visas below, and their names are pretty self-explanatory:
- Health and Care Worker visa
- Skilled Worker visa
- Labourer
- Tourism
- Entrepreneur
- StartUp visa
- Standard Visitor visa
And to have a smoother and more efficient application process, avoiding potential setbacks and headaches, you may need to accomplish the following tasks:
Step 2: Obtain a Certificate of Sponsorship (CoS)
–Media from thevisaofficeuk
CoS is like your golden ticket to the UK job market. It’s a document that proves a licensed UK employer is willing to sponsor you, giving you the green light to work legally in this fair city.
Without it, you’re like a fish out of water, flopping around with no purpose.
To find a licensed sponsor, you’ll need to hit up the government’s official website, Gov.UK. They’ve got a handy tool called the “Register of Sponsors” that lists all the companies authorized to sponsor workers.
Step 3: Complete the online application
–Media from thevisaofficeuk
Head over to GOV.UK visa-immigration website, select “Work in the UK” and click on the work visa that best suits you. Popular options are Health and Care Worker visa and a Skilled Worker visa.
Scroll down on the “How to apply” section and click “Outside of the UK”. Afterwards, select “Apply Now”.
Here, you’ll be selecting where you plan to live, confirming your identity, and creating an account.
When creating your account, you’ll need to have the details of your date of birth
Passport, email address and phone number
Step 4: Pay the application fees
–Media from thevisaofficeuk
Once you’ve completed the online application, which we covered in step three, it’s time to dig deep and open your purse strings.
Now, the fees can vary depending on factors like your visa type, duration, and whether you’re applying from within or outside the UK.
For the most popular visas like Health and Care Worker visa and Skilled Worker visa, the fees are as follows:
- Health and Care Worker Visa
- Applying inside or outside the UK:
- £247 per person (up to 3 years)
- £479 per person (more than 3 years)
- Skilled Worker Visa
- Applying outside the UK:
- £625 per person (up to 3 years)
- £1,235 per person (more than 3 years)
– Applying inside the UK:
– £719 per person (up to 3 years)
– £1,423 per person (more than 3 years)
For the fees of other visas, you can check out this tool and work out the cost of your UK visa application.
Step 5: Schedule a biometrics appointment
–Media from thevisaofficeuk
This step is a way for the UK authorities to verify your identity and keep things legit. During the appointment, they’ll capture your fingerprints and take a photo of your face.
To schedule your biometrics appointment, go to UK Visa and Citizenship Application Services (UKVCAS).
Once you’re on the website, look for the tool that allows you to locate your nearest biometrics collection point. Enter your location, hit the search button, and voila! You’ll have a list of options right at your fingertips.
Once you’ve found a suitable collection point, it’s time to book that appointment. Select a date and time that works for you, confirm the details, and keep them safe like your Oyster card.
On the day of your appointment, make sure you arrive on time and come prepared. Bring along all the necessary documents and proof of payment, just like you would for any important meeting.
Step 6: Attend the visa interview
–Media from thevisaofficeuk
After your biometrics appointment, you’ll receive instructions on when and where your visa interview will take place.
The location could be a visa application centre or an embassy or consulate, depending on your location.
If you’re wondering what the interview is about, this is a chance for the UK authorities to get to know you better, ask questions, and assess whether you meet the eligibility criteria for the coveted work visa.
So, make sure you’re dressed appropriately and arrive early. It’s like showing up for a high-stakes meeting—first impressions count and punctuality is key.
During the interview, the visa officer will ask you questions about your background, qualifications, work experience, and your plans in the UK.
Step 7: Wait for a decision
–Media from thevisaofficeuk
Waiting for a decision can feel a bit like waiting for your favourite band to drop a new album—it’s a mix of excitement, anxiety, and sheer impatience.
Usually, it takes about three weeks or more to receive a decision. You may check out the Visa Decision Waiting Times of Gov.UK to check out more details when waiting for a decision.
While waiting, it’s important to remain flexible with your plans. Hold off on making any concrete travel arrangements until you’ve received a decision.
Step 8: Travel to the UK
–Media from thevisaofficeuk
Once your work visa application is approved, you’ll receive a letter of approval from UK Visas and Immigration (UKVI). Now you’ll need to book your flight to the UK.
Consider factors like the closest airport to your destination. For instance, if you’re heading to London, you’ve got options like Heathrow, Gatwick, or London City Airport.
Once you’ve got your travel plans and appointment sorted, it’s time to hop on that plane, mate! Don’t forget to pack your passport, visa approval letter, and any other supporting documents that you might need.
Step 9: Collect your Biometric Residence Permit (BRP)
–Media from thevisaofficeuk
Once you’ve arrived in the UK, you’ll need to proceed to the designated collection point to pick up your BRP.
Now, the exact location will depend on the type of visa you’re holding and where you’re residing in the UK. You can find this information on the official UK government website, specifically on the page related to the BRP collection.
They’ll have a list of the designated post offices or service centres where you can collect your BRP.
When you go to collect your BRP, make sure you bring along all the required documents, such as your passport and any confirmation letters or reference numbers you received during the application process.
After all that, you should have your visa. Just remember to comply with all of the conditions on it, from work restrictions to studying and funds.
Keep your nose in the know, report any changes to the Home Office, and you’ll sail through your UK adventure without a hitch. Head to the official UK government website, www.gov.uk, if you need more tips!